
DIY Resin Bound Installation: What You Need to Know


Introduction to DIY Resin Bound Installation
Resin bound surfaces are becoming increasingly popular for driveways, paths, and patios due to their durability and aesthetic appeal. If you're considering a DIY approach to installing a resin bound surface, there are a few essential things you need to know to ensure a successful project.
Whether you're an experienced DIY enthusiast or a beginner, following the right steps can make all the difference. Let's explore the essential aspects of a DIY resin bound installation.
Understanding Resin Bound Systems
Before diving into the installation process, it's crucial to understand what resin bound systems are. These surfaces combine natural aggregates with a high-quality, UV-resistant resin. The result is a smooth, permeable, and visually appealing finish that's perfect for outdoor spaces.
One of the main advantages of resin bound systems is their permeability, which helps reduce surface water runoff and flooding. This makes them an environmentally friendly choice for modern landscaping solutions.
Choosing the Right Materials
To achieve the best results, selecting the right materials is key. You'll need high-quality resin, suitable aggregates, and a primer for your base. Ensure that the materials are compatible and designed specifically for resin bound installations.
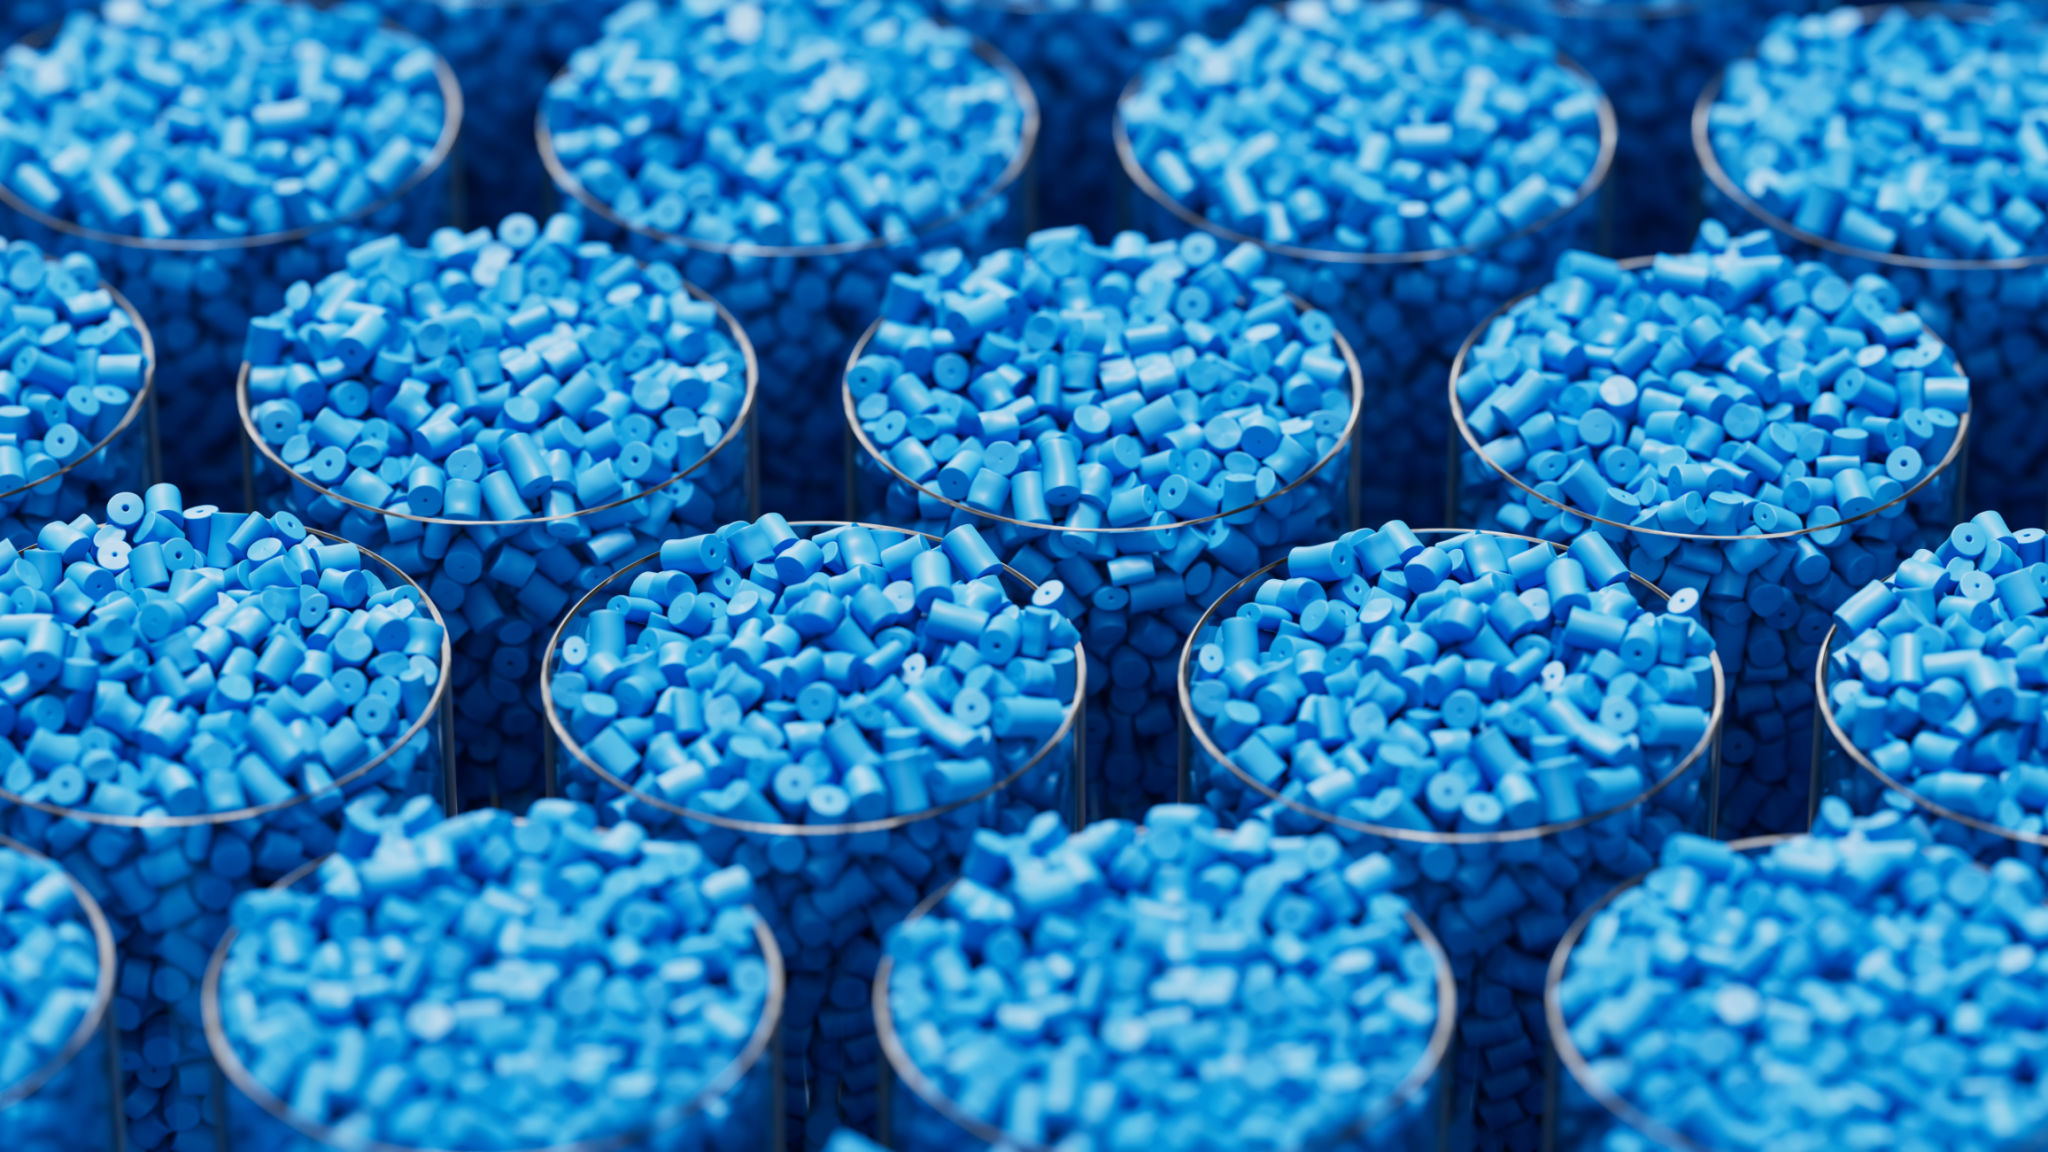
Consider the color and size of the aggregates, as these will impact the overall appearance of your surface. Mixing different aggregates can create unique patterns and designs, allowing for a personalized finish.
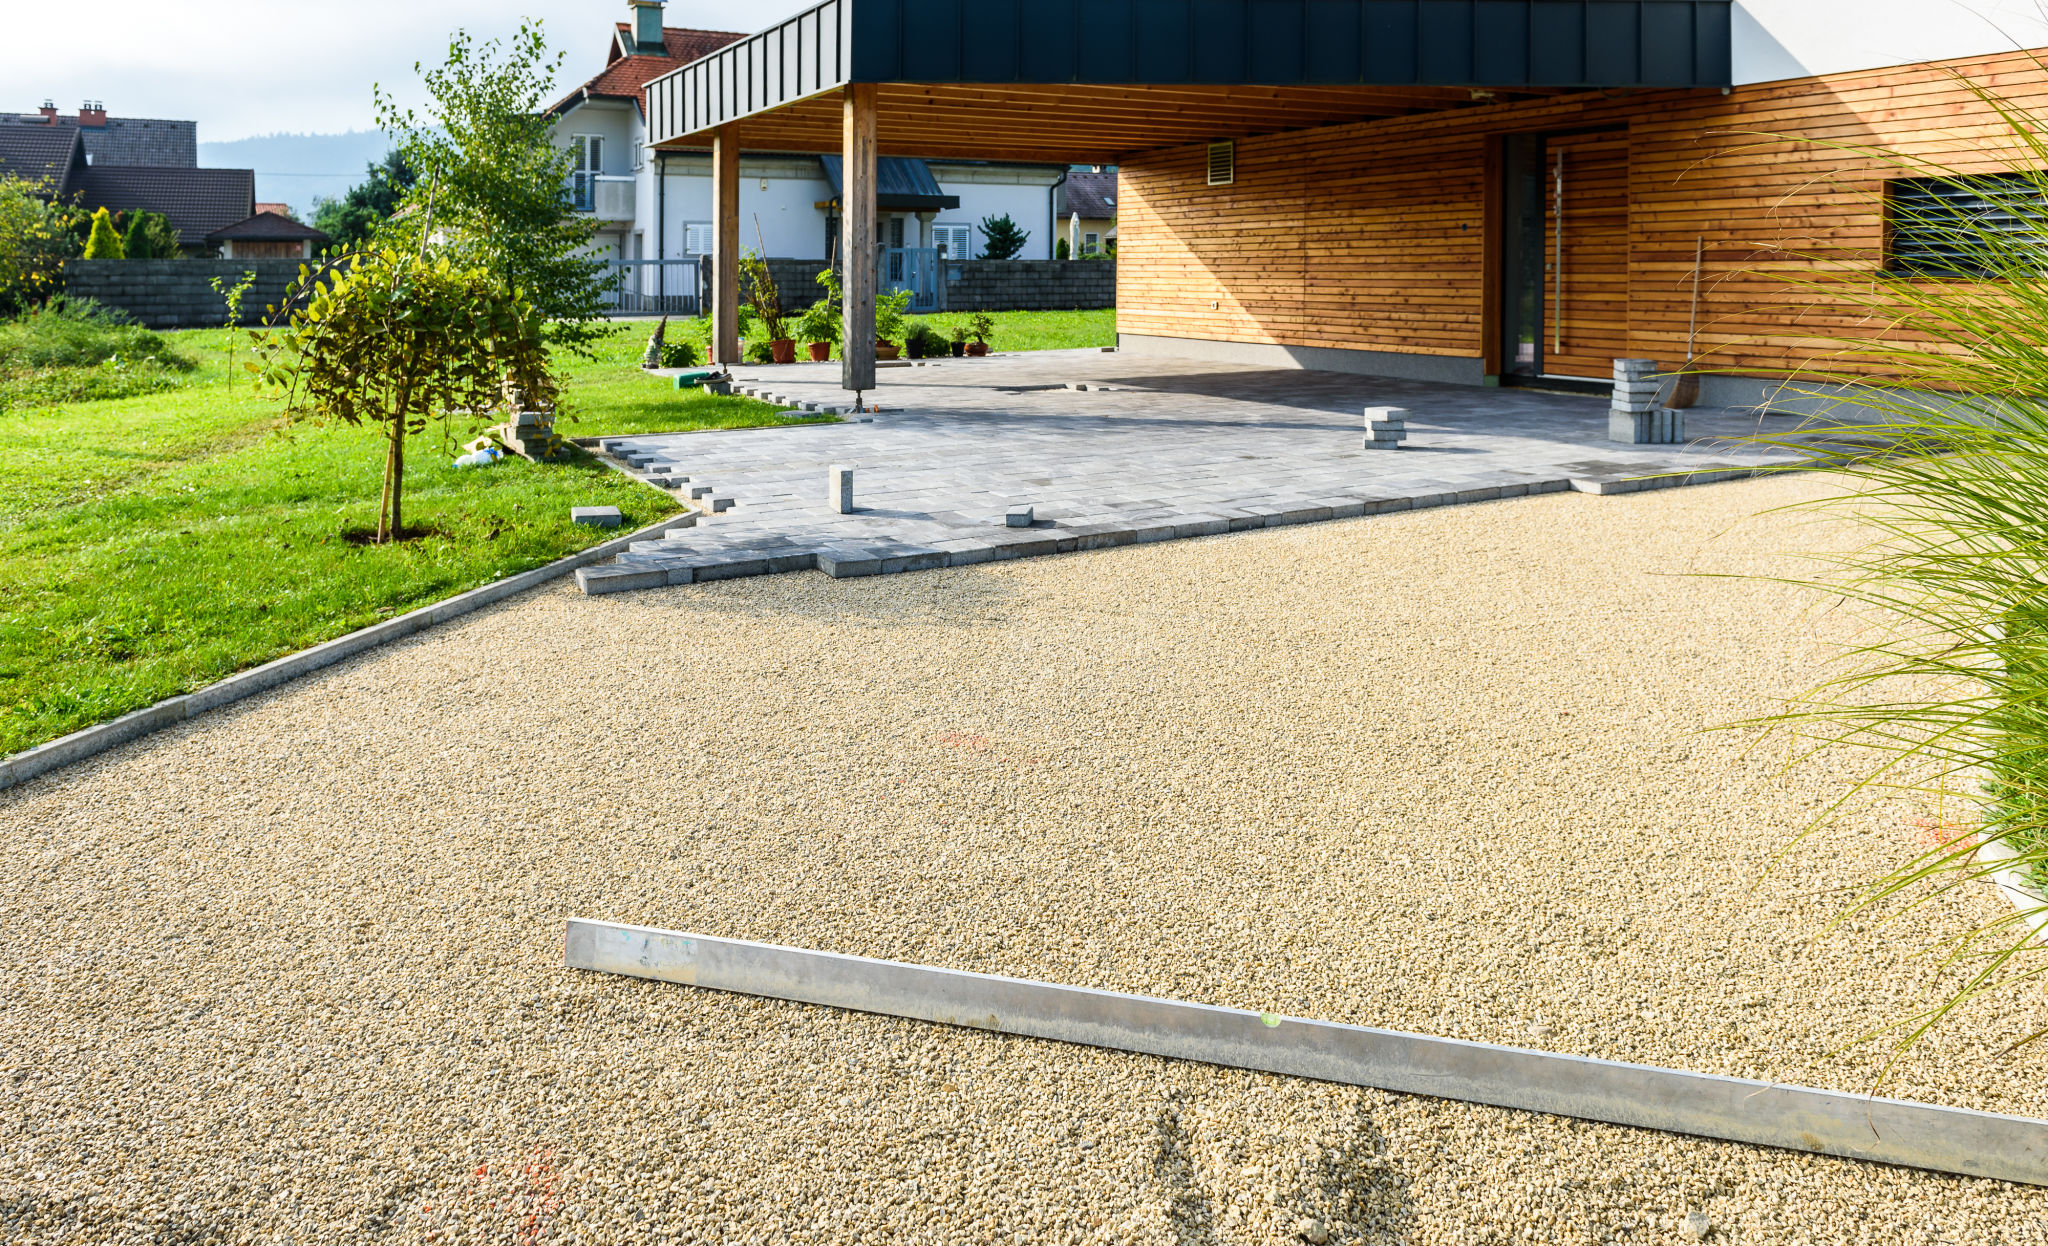
Preparing the Base
A strong foundation is essential for the longevity of your resin bound surface. Begin by preparing the base, which should be solid, level, and free of debris. Common base materials include concrete or asphalt, as they provide the necessary stability.
Apply a suitable primer to the base to improve adhesion between the surface and the resin. This step is crucial for preventing future issues like lifting or cracking.

Mixing and Laying the Resin
Once your base is ready, it's time to mix the resin and aggregates. Follow the manufacturer's instructions for mixing ratios and ensure you work quickly, as the resin can begin to set rapidly. Use a forced action mixer for even distribution of the aggregates within the resin.
Lay the mixed resin and aggregates onto the prepared base, spreading it evenly with a trowel. Work in small sections to maintain control and ensure a smooth finish.
Finishing Touches and Maintenance
After laying the resin, allow it to cure for at least 24 hours before walking on it and 48 hours before driving on it. This curing period is crucial to achieving a strong and durable surface.
Once your resin bound surface is set, maintaining it is relatively simple. Regular cleaning with a stiff broom and occasional power washing will keep it looking fresh. Avoid using harsh chemicals or pressure settings that could damage the surface.

By following these guidelines, your DIY resin bound installation can be a rewarding project that enhances the beauty and functionality of your outdoor space. With the right materials and attention to detail, you'll enjoy a stunning and long-lasting surface for years to come.